| OBJECTIVE | Build a functional recumbent bicycle with a quirky steering mechanism in four weeks |
| MATERIALS/TOOLS | Recycled bicyclesSteel chairMIG WeldingAngle grinderHand saw |
| TIMELINE | January 2015 |
| TEAM SIZE | 2 |
| Progression |
The brainstorming process took the longest amount of time, but we finally settled on an idea - a recumbent bicycle with a hand pedaling mechanism. After making our initial design and collecting the bikes and parts we would need, we started dissassembly
We got ready to make our first welds. Because we were using steel bicycles, we only needed to sand away the frame's paint before it was ready to for MIG welding. Our first welds were on the down tube and seat tube, in order to extend it
(Preparation for mig welding. The jig used was made with a steel bar and some clamps)
Our bicycle needed a seat before we could go any further. We didn't have to look too far - the head of the shop we were working in had a steel one on hand that he let us use.
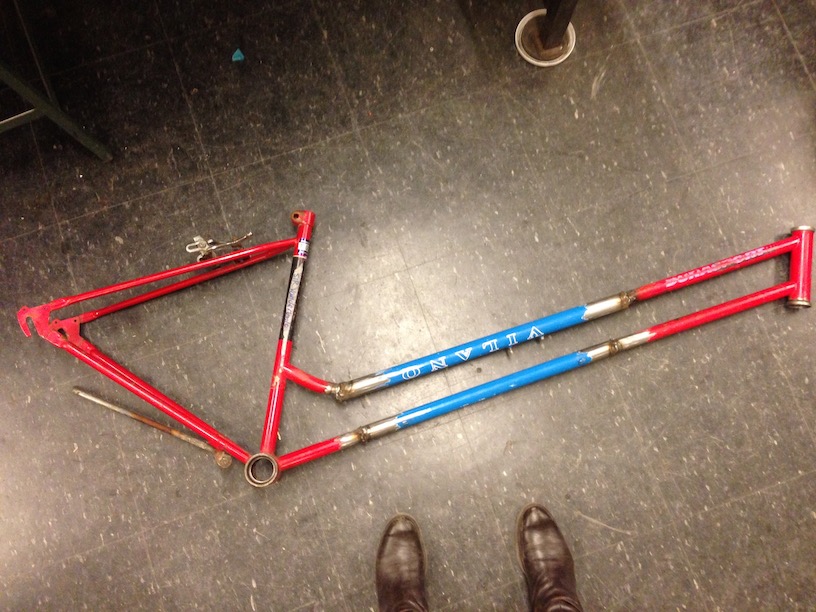
(The first series of four welds extended the top tube and the down tube of the bike)
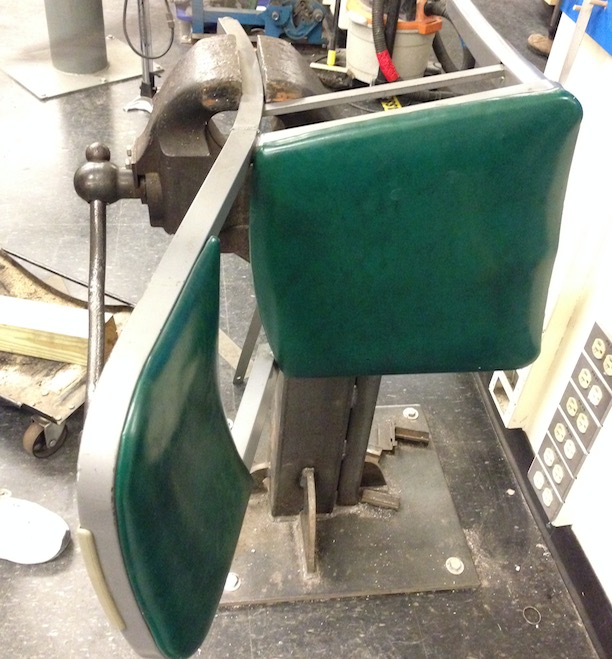
(The donated steel chair)
In order to keep the chair more or less level with the ground, we used the rear triangle from another bicycle and welded it on top of our own - basically making double decker seat stays. Unfortunately, the jig we used to weld these wasn't as great as it should have been, and the seat stays turned out crooked relative to one another. But after breaking the welds and hammering the triangles into the right angles, we were able to level them out.
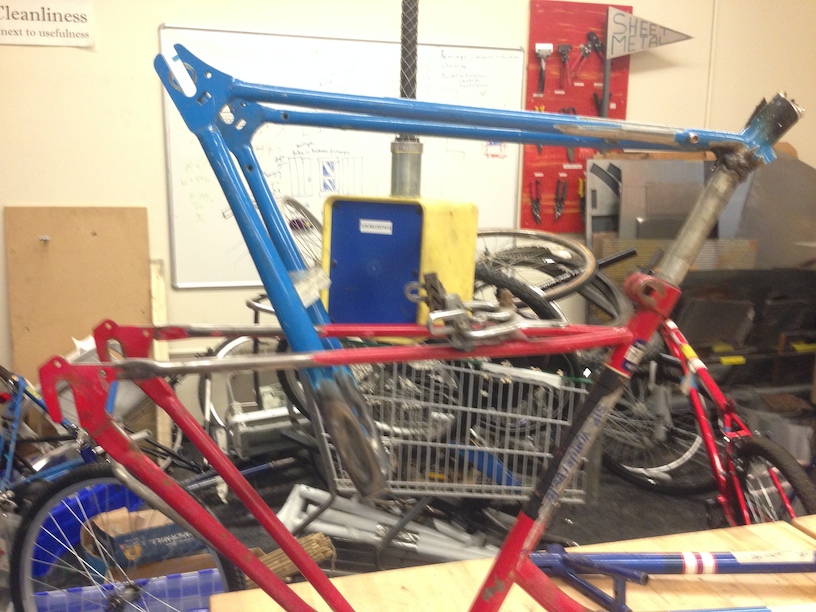
(The seat stays. I'm a terrible photographer)
With the rear triangles level, we welded the seat onto the bike. At this point, we started working with getting the bike to actually move with pedals. Because the bike's top and bottom tubes were extended, we had to relocate the pedals - so that they would actually be within reach for the person riding the bike - and extend the chain for the wheels. We also had to redirect the bottom of the chain, because it would hit the bottom bracket of the original bike. By using the chainring of one of the bikes we had used previously, we were able to do that.
(Our pedaling mechanism. The top pedals are the ones the rider actually uses)
Because we were running low on time, we decided to change the hand-pedalling steering mechanism for a lever. In order to do this, we used a seat tube with a bottom bracket and welded that to the top tube so that it was within reach of the rider. From here, we used crankarms as the handles and attached them to both ends of the bracket. This is also where we placed our brakes. In order for the upwards motion of the lever to translate to the planar steering, we used two sets of multi-axial berrings. Because of the way that we have set up the steering, pulling the lever back makes you go left, and pushing it forward makes you go right.
(Components for steering mechanism)
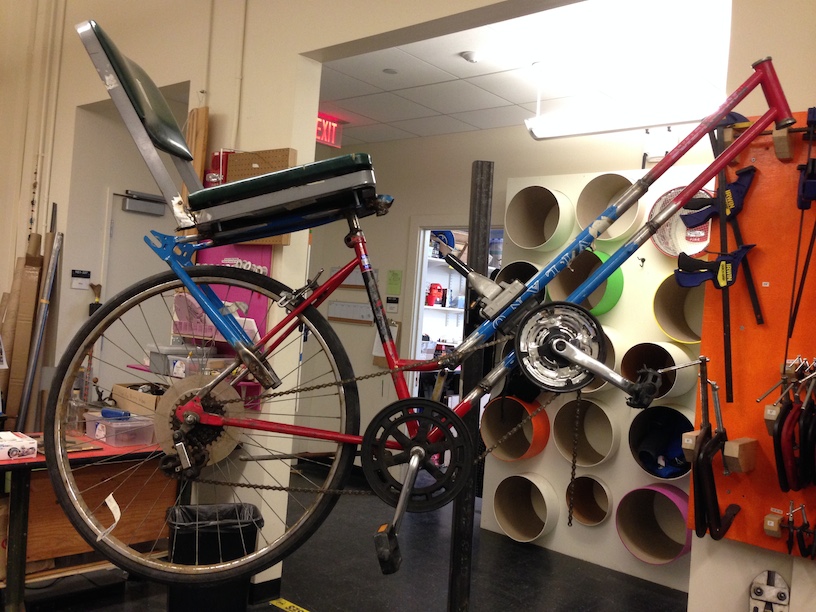
All in all, we were able to finish our bicycle, and we did so on time! It's definitely hard to ride, but it's possible.
(One of our graduate TAs trying to ride our bike. It takes practice!)